
News & Information
Home > News > Article Detail
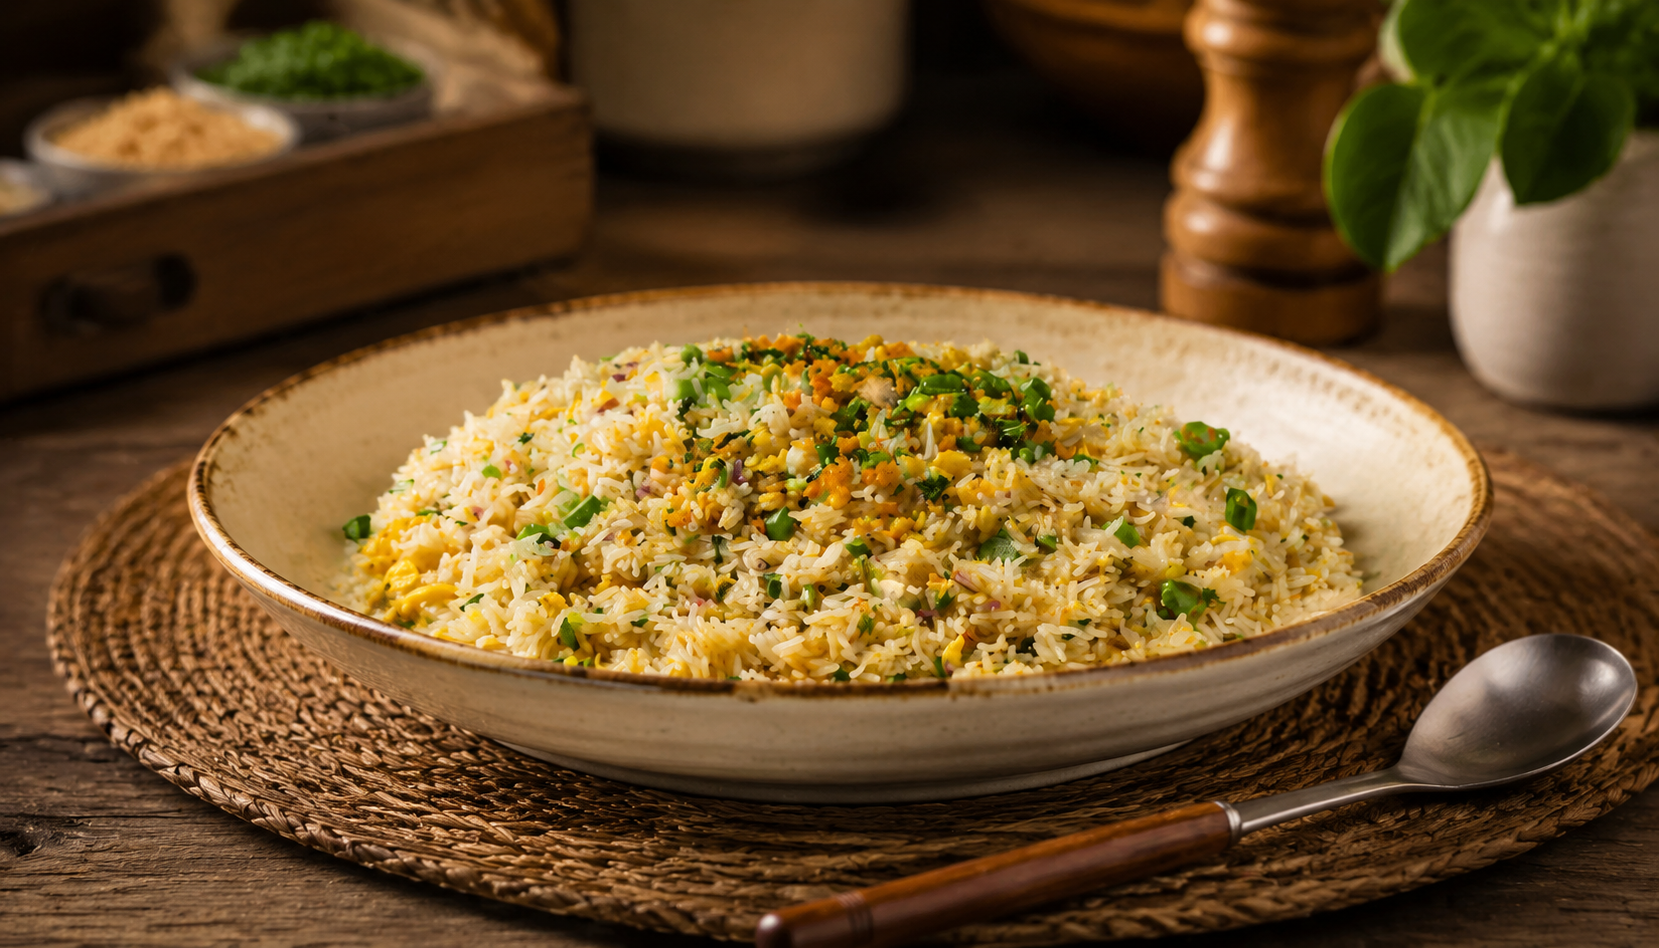
Does your fried rice always stick to the pan and turn into a mushy clump? Don't always blame your skills or your wok. To be honest, whether fried rice turns out with distinct, separate grains is 80% about the rice itself, and the remaining 20% lies in the details of cooking and stir-frying. Today, I'm sharing the pro kitchen's best-kept secrets, guiding you step-by-step. Follow along, and I guarantee you can make restaurant-quality fried rice that's golden, glossy, and perfectly separated.
1. Choosing the Right Rice is Fundamental – Stop Buying Blindly: Use Professional Fried Rice Rice
Many people just grab whatever rice they have at home for fried rice. This is the biggest mistake. Using short-grain japonica rice like Northeast rice or Japanese sushi rice is asking for trouble. These rices have low amylose and high amylopectin content, making them naturally sticky and absorbent. They cook up soft and sticky, perfect for porridge or plain rice, but a disaster for fried rice. Once in the wok, they easily release water and clump together, and no amount of high heat can save them.
* Wrong Method: Grabbing a handful of the common Northeast rice or regular japonica rice you eat daily, thinking all rice is the same for frying.
* Correct Method: You must use long-grain indica rice, especially specially processed fried rice rice. This type has high amylose content. The cooked grains are springy, not easily broken, and have moderate water absorption. Crucially, it doesn't release water easily during frying, ensuring distinct grains. The rice we use in our restaurant is a professional-grade fried rice rice like Fried Rice Rice, Hotel Restaurant Commercial, Non-Stick, Professional Grade 5kg. Its grain structure is stable, absorbs oil evenly, and yields a chewy, Q-textured result that doesn't harden when cooled. This rice wasn't chosen randomly; it took thirty years of experience to find a variety suitable for high-heat, quick stir-frying. If you want to understand why rice sticks to the pan, check out this article: Why Northeast Rice Fried Rice Always Sticks – Amylose 22% is Key - mq4geg9p1.
2. Cooking the Rice is Crucial – It's Not Just About Being Cooked: Water Control, Cooling, and Overnight Rice are Key
With the right rice selected, cooking it is the next critical step. Remember, the rice for fried rice needs to be drier and firmer than what you'd normally eat. If the rice is too soft and wet, the moisture can't evaporate during frying, leading to stickiness and excessive oil absorption. Restaurants have a specific process for cooking rice for fried rice; it's never just a simple cook.
* Wrong Method: Adding too much water when cooking rice, resulting in soft, mushy rice, or using freshly cooked, steaming hot rice directly in the wok.
* Correct Method:
1. Precise Water Control: When cooking fried rice rice, strictly control the water-to-rice ratio. Typically, use 1 part rice to 1.1 parts water (by volume). For example, 100g of rice needs 110ml of water. This is about 10% less water than usual, ensuring the cooked rice is dry enough. If your rice cooker has a "Fried Rice" mode, try it, as it usually optimizes the water ratio and cooking time.
2. Thorough Cooling: Cooked rice must be completely cooled before frying. The best state is overnight rice kept in the fridge. The moisture in the grains evaporates further, making them drier and the grain structure more stable. If you can't wait, spread the rice out and cool it with a fan for at least 30 minutes until the steam is gone and the surface is dry.
3. Loosen Before Use: Before frying, gently loosen the rice with a spatula or your hands to ensure no clumps. Clumps of rice in the wok heat unevenly, resulting in hard lumps or sticky patches.
3. Stir-Frying is a Technique – Heat and Method are Both Essential: Workarounds for Home Stoves
With the rice and cooked rice ready, it's time for the actual cooking. This part tests your basic skills, but remember, home stoves have limited heat compared to restaurant burners (often 40,000 BTUs), so we need workarounds.
* Wrong Method: Adding oil before the wok is hot, adding rice before the oil is hot, dumping a large amount of rice in at once, stirring constantly, or using too little oil to avoid fat.
* Correct Method:
1. Heat the Empty Wok, Get the Oil Temperature Right: First, heat the empty wok over high heat until it smokes, about 90 seconds to 2 minutes. You should feel intense heat when your hand is 15cm above the wok. Then add about 15ml (one level tablespoon) of cooking oil. Swirl the oil around the wok walls. When the oil reaches 70% heat – small bubbles form densely around a chopstick inserted, and faint wisps of smoke appear – it's the perfect time to add the rice. This creates an "oil film" preventing the rice from sticking.
2. Fry in Batches, Small Amounts at a Time: This is the most crucial workaround for home stoves. With low heat, frying too much rice at once causes the wok temperature to plummet. The rice gets "steamed" and releases water before it can heat properly, instantly turning into a sticky mess. A single serving (about 200g of rice) is the maximum a home stove can handle. If you need to fry two bowls of rice, do it in two batches to ensure each batch gets enough heat. In our restaurant, even when using Fried Rice Special Rice, Hotel Restaurant Commercial, Non-Stick, 5KG, we strictly control the amount per batch.
3. Fry First, Then Flip – Be Patient: Don't stir the rice immediately after adding it. First, spread the rice flat with the spatula, letting it contact the wok bottom for 30 seconds to form a golden "crust". Don't move it during this time, allowing the limited heat to concentrate on drying the surface moisture of the grains. Once the bottom is slightly golden, quickly flip the rice with the spatula, lifting it from the wok bottom, spread it flat again, and wait another 20 seconds. Repeat this a few times to ensure the rice grains heat evenly and gradually become dry and fluffy.
4. Season in Stages for Healthier Salt Intake: Seasoning fried rice also requires care. Beat the eggs with a drop of cooking wine and half a teaspoon of salt, scramble them, and set aside. When frying the rice, first sauté some chopped scallions until fragrant, then add the rice. Once the rice is separated, add the scrambled eggs and diced ingredients (like carrots, corn kernels, ham cubes). Finally, drizzle 10ml of light soy sauce along the wok edge, sprinkle a pinch of white pepper, and stir-fry quickly to combine. This method ensures even flavor distribution, avoids localized saltiness, and helps reduce overall salt usage, aligning with healthier eating principles.
5. Add Oil for Aroma Before Serving: When the rice is perfectly separated and golden, just before serving, drizzle 5ml (half a teaspoon) of sesame oil or scallion oil along the wok edge. Stir-fry quickly a few times and serve immediately. This final step instantly elevates the aroma and sheen of the fried rice. For more tips on selecting professional fried rice rice, refer to this article: Hotel Commercial Fried Rice Rice Selection: In-Depth Review of 3 Professional-Grade Non-Stick Rice Varieties - mq7baihb1. In our restaurant, we also choose larger packages like Fried Rice Rice, Hotel Restaurant Commercial, Q-Texture, Non-Stick, Easy-to-Cook 10kg based on different needs.
Remember, perfect fried rice isn't achieved overnight. But once you master these core points – especially choosing the right rice, cooking it correctly, and using the proper stir-frying technique – your homemade fried rice can be just as aromatic, with distinct, separate grains, non-sticky and non-burnt, as what you get from a restaurant. Stop complaining, just follow the steps.